
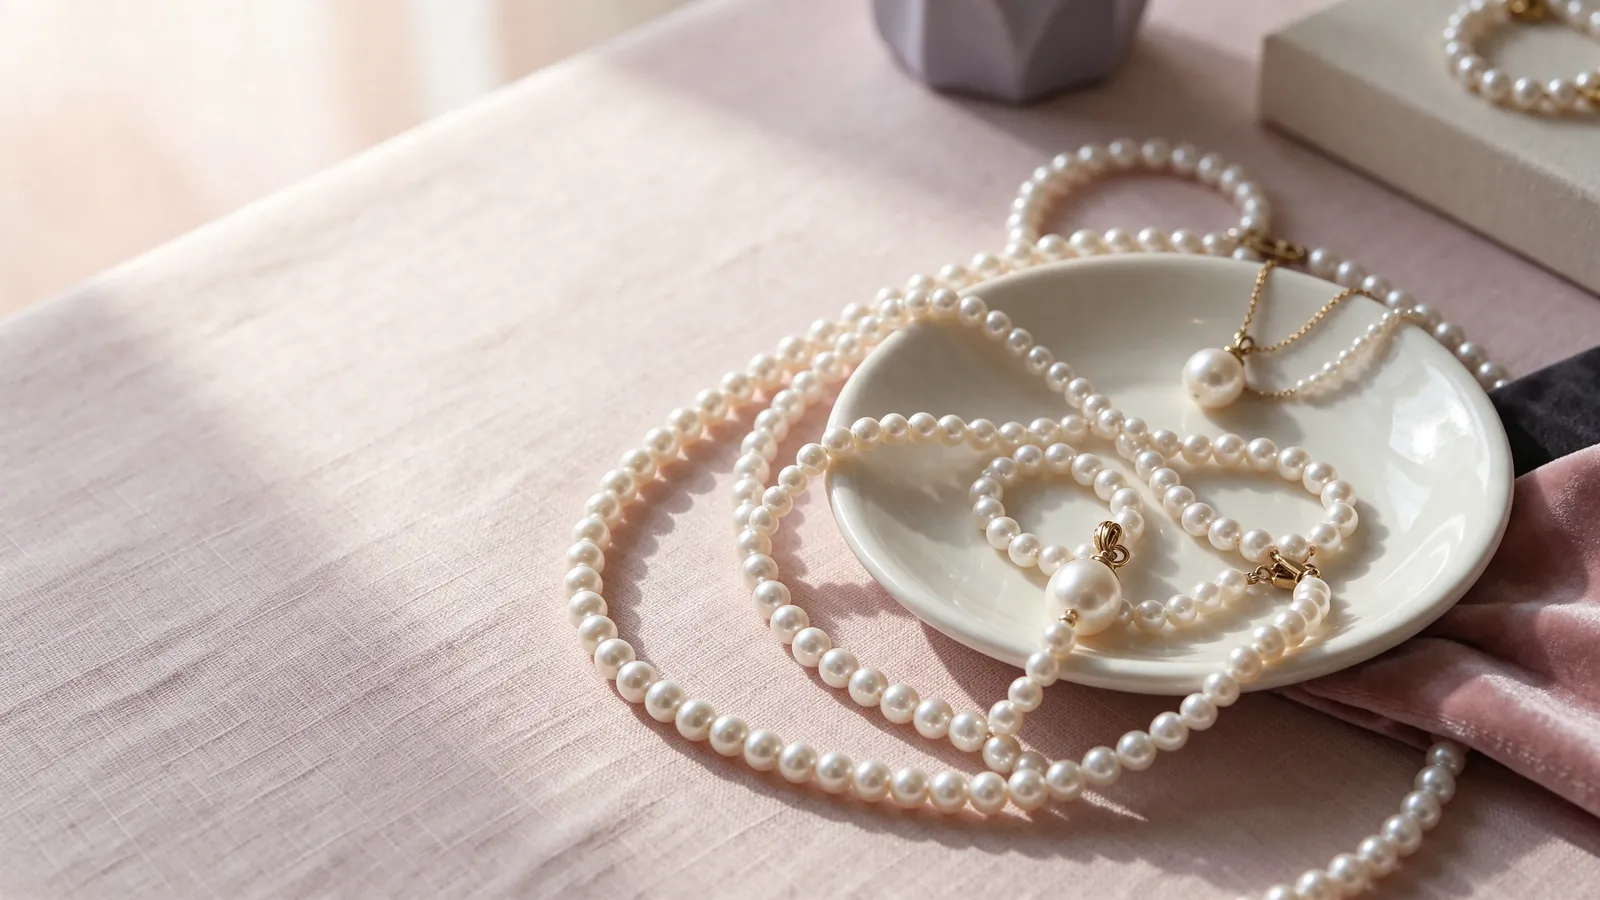
How do neckline and strand spacing shape a multi strand pearl necklace, from a double strand pearl necklace to a triple strand pearl necklace? | Flint Jewellery
Begin with an outfit you actually wear, rather than a necklace photographed on its own. With a round neck, decide whether the strands should remain above the fabric or sit clearly on it. A strand that rests directly on the edge may be lifted as you move. With a V-neck, compare the necklace's curved outline with the point of the opening. They need not follow the same line: a little visible space can help the necklace and garment remain distinct.
A boat neck or an off-the-shoulder top gives you a different area to frame. Look at the width of the arrangement before adding another strand. A double strand pearl necklace can form two separate curves or a more concentrated band; a triple strand pearl necklace introduces another falling line. Neither is automatically more flattering. Comparing a pearl choker necklace can help you decide whether you prefer the emphasis close to the neck or spread further down the chest.
When trying a multi strand pearl necklace, how should a double strand pearl necklace or a triple strand pearl necklace sit as you move? | Flint Jewellery
Relax your shoulders and inspect the lowest point of each strand from the front and side. Then turn your head, raise your arms gently and sit down. Check whether the inner strand presses upwards, the outer strand catches on clothing or the clasp moves noticeably to one side. Return to a relaxed standing position. If the strands need repeated pulling to look separate, compare the arrangement and lengths again rather than judging fit from a single still photograph.
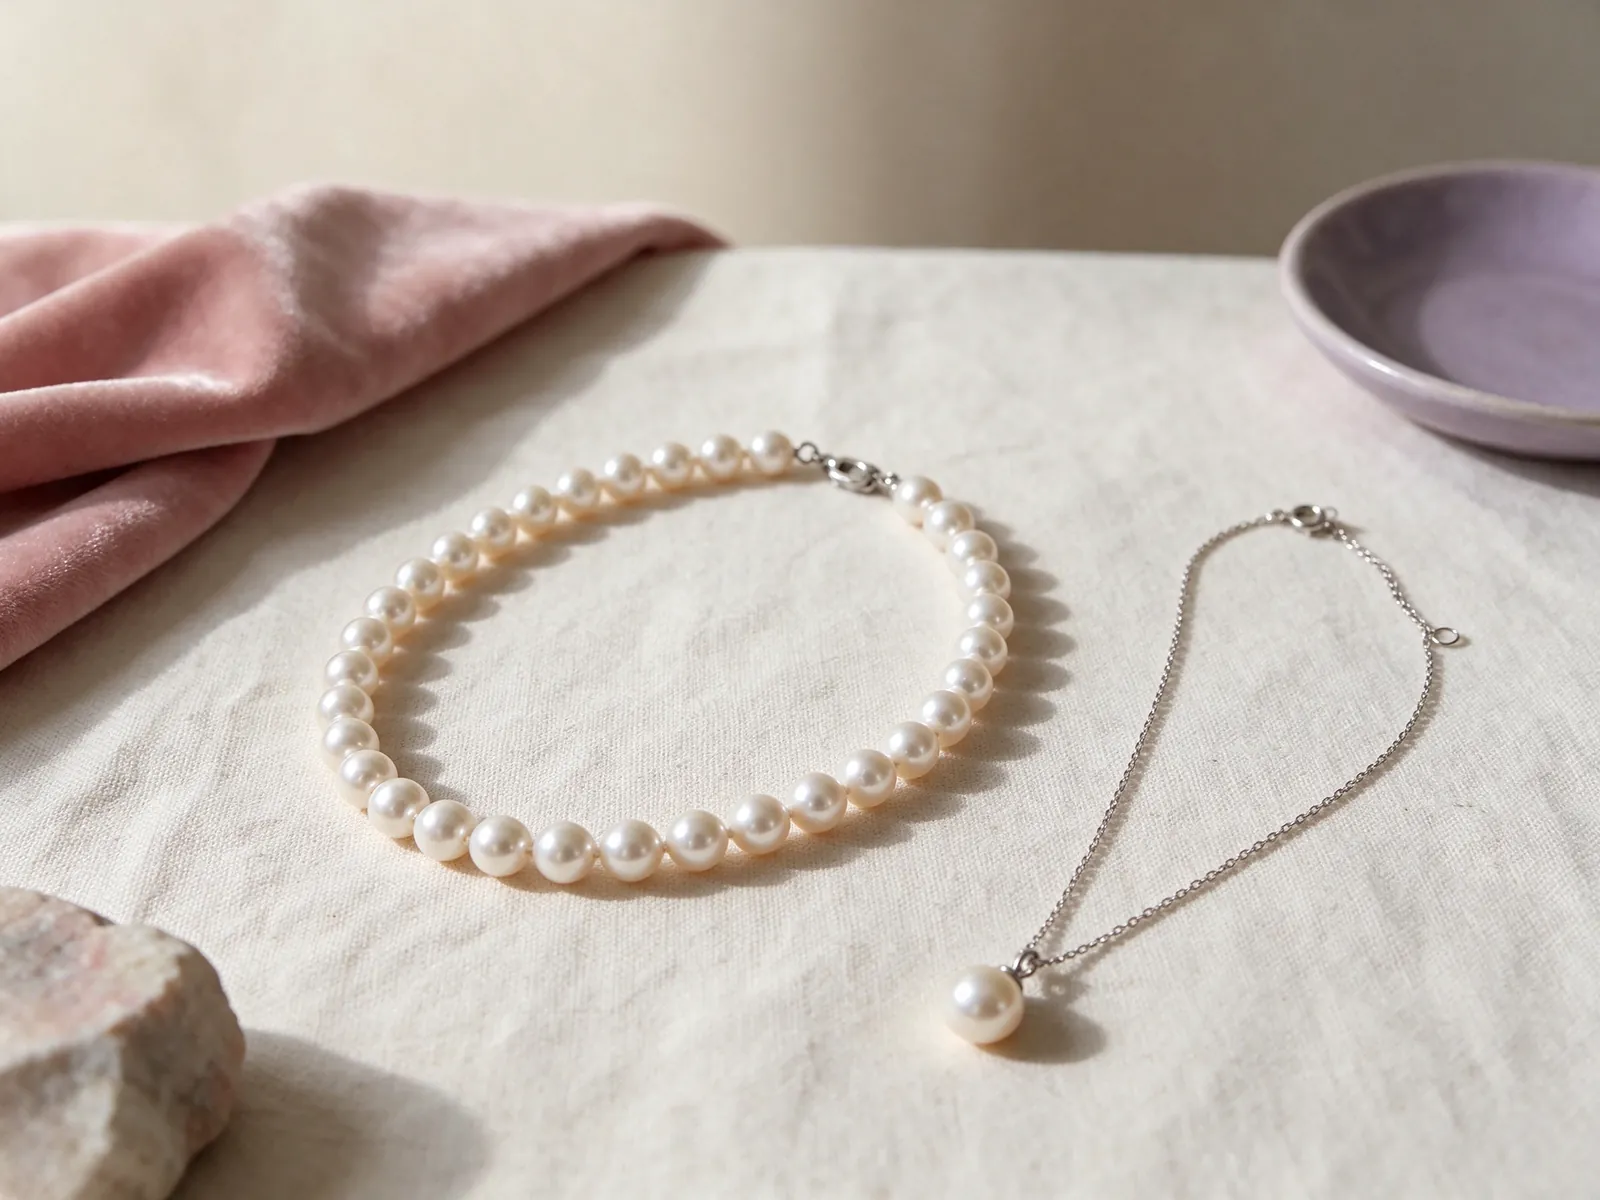
Two strands and three strands organise the outline differently
The useful question is not simply how many strands you want, but what each contributes. Two closely placed strands can read as one wider band. With three, the middle strand needs a visible place between the inner and outer curves. Look for overlap at the front and crowding at the sides. A single strand pearl necklace provides a helpful baseline: compare its outline first, then decide whether you want more width, more descending curves or simply a different focal point.
Distinguish a multi-strand arrangement sharing a clasp from several independent necklaces worn together. In the first, the strands' relationship is built into the overall construction. In the second, each necklace has its own length and fastening, so you can remove pieces individually but must also consider the distribution of clasps behind the neck. The decisions involved in pearl necklace layering are therefore not identical to choosing a fixed arrangement, even when the front view looks similar.
Decide between parallel curves and deliberate variation
For an orderly outline, check that the strands descend in the sequence you expect and open out coherently on both sides. If you prefer asymmetry, distinguish intentional variation from strands that have crossed during handling. Let them hang freely before assessing the shape. Do not twist a fixed arrangement into a rope effect to imitate another design; its connections may not be intended for that change. Start with the necklace's natural drape.
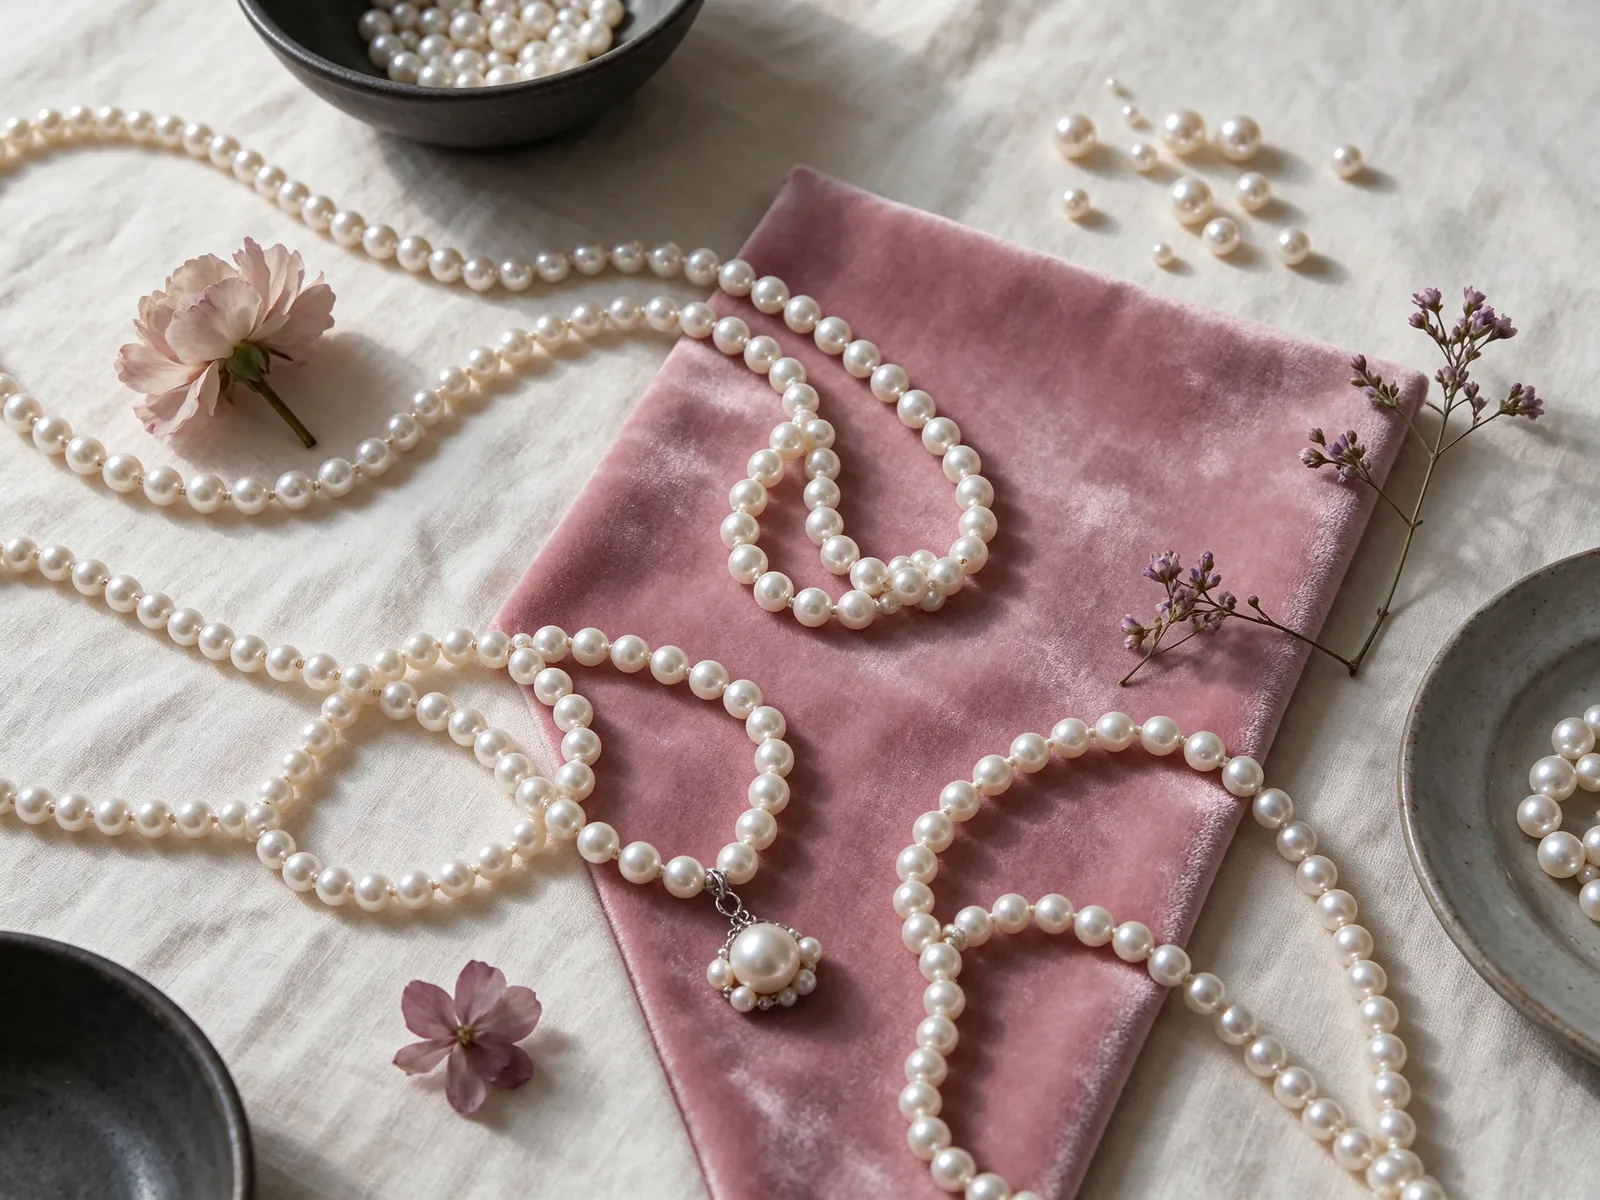
Pearl proportions and matching change the overall presence
Two necklaces with the same strand count can occupy very different amounts of visual space. Finer-looking strands may leave more visible gaps, while more prominent pearls can make the outline read as a broad band. Inspect the whole necklace on the body, not only a close-up of individual pearls. If you want a strong focal point, compare a large pearl necklace that achieves presence with one strand before deciding that both larger pearls and additional strands are necessary.
GIA identifies seven pearl value factors: size, shape, colour, lustre, surface quality, nacre quality and matching. Matching is especially useful when looking across neighbouring strands. Compare their colour and reflection in even light, as well as the rhythm of shapes along each strand. Uniformity and deliberate variation are different design intentions; neither should be assessed solely from one bright spot. Shape or colour alone cannot establish a pearl's origin or whether it is natural or cultured.
Separate close inspection from an outfit-level assessment
At close range, follow each strand to observe changes in surface, shape and lustre. Step back to see whether the overall colour relationship feels coherent with your clothing. A full-length mirror helps assess proportions, but it cannot establish pearl identity. If one strand looks much brighter, move away from a concentrated spotlight and check again under more even illumination. This helps distinguish a lighting effect from a difference you actually want in the arrangement.
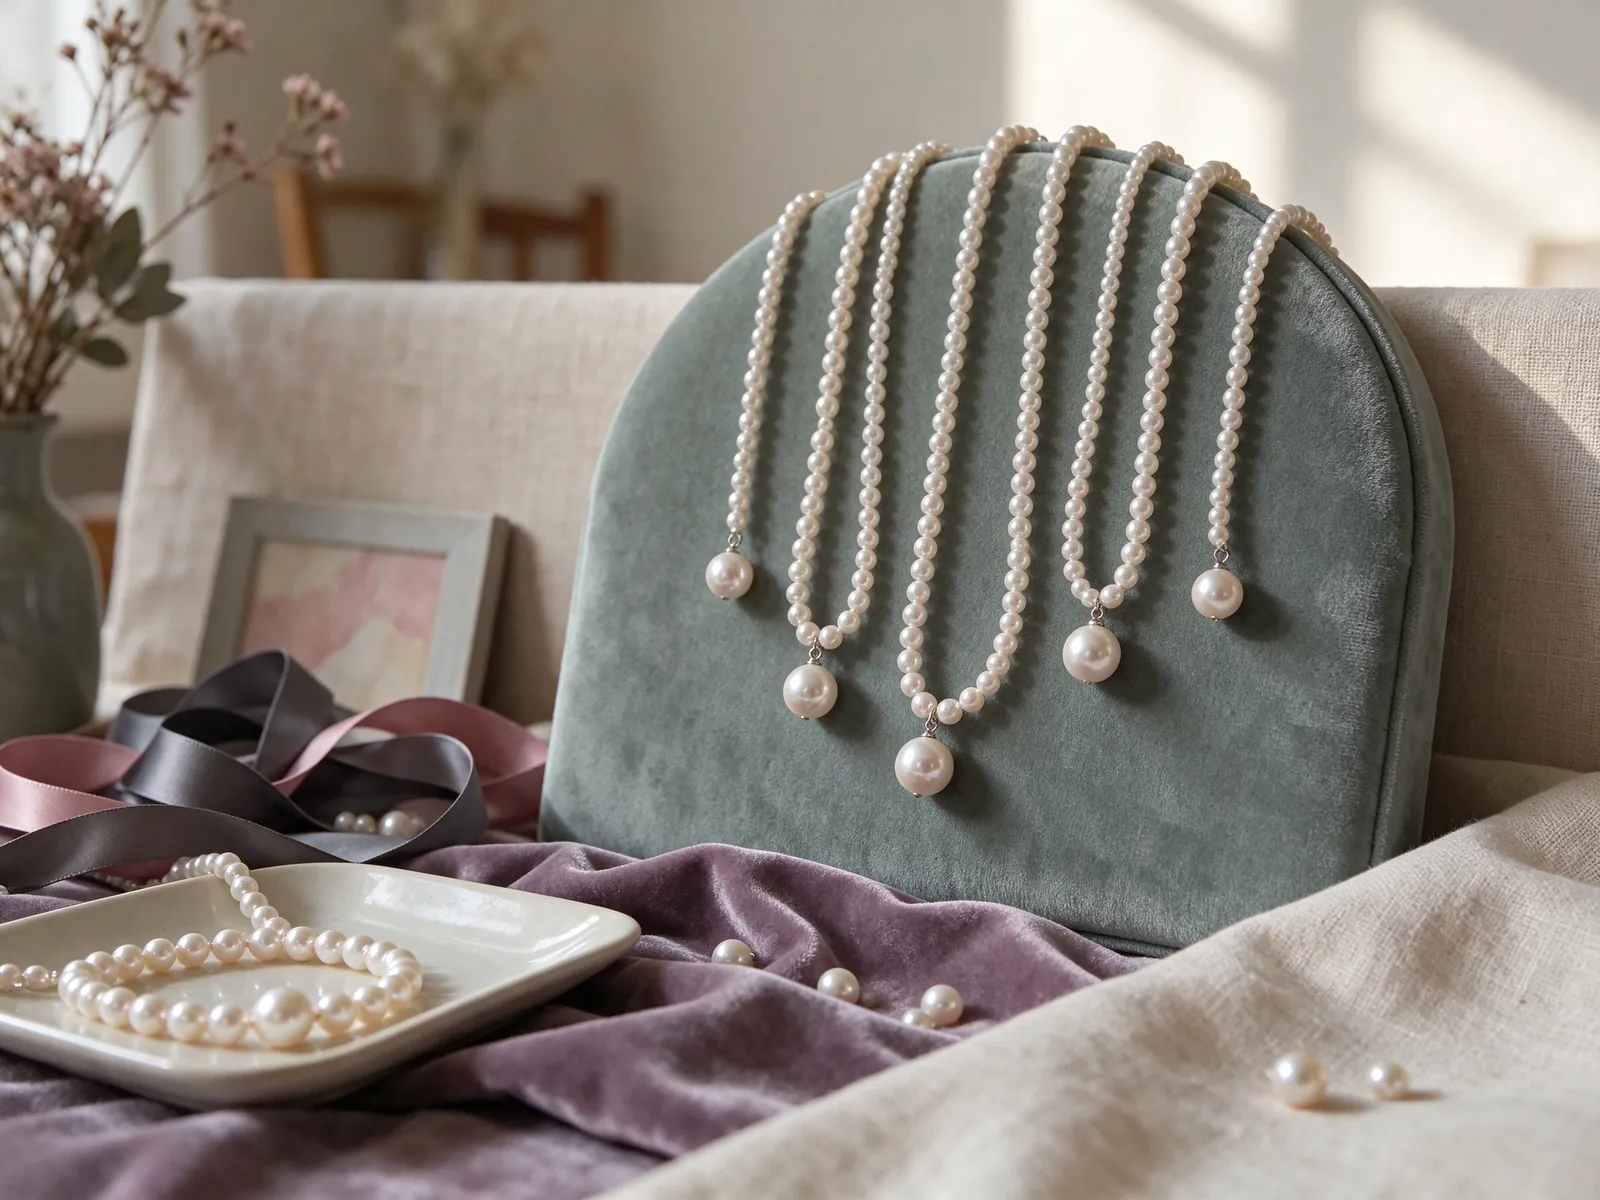
Read length strand by strand, not as one total measurement
The innermost strand sets the opening near the neck, the outermost defines the reach across the chest, and the strands between connect those two boundaries. Recording only the longest length misses that relationship. Thick knitwear may support a necklace differently from a fine blouse, changing where the strands fall. Comparing a matinee pearl necklace can help you decide whether the outer curve should extend over fabric or remain closer to the neckline.
If your main aim is a downward line rather than added width, compare a long pearl necklace as well. The direction of the silhouette matters, not just the overall length. Describe where the inner strand rests, whether the outer one meets garment decoration and what happens when you sit. These observations communicate more than asking for a looser necklace. When discussing measurements, clarify whether the clasp is included so the beaded section is not confused with the complete necklace.
Keep the outfit constant when comparing strand spacing
Use the same top, posture and mirror distance for the first comparison. You need not demand an identical gap at every point: strands form curves as they follow the body. Instead, check that each remains recognisable, that movement does not produce persistent crossing and that the collar does not push one over another. Then repeat with a second frequently worn outfit to distinguish an arrangement issue from the behaviour of a particular neckline.
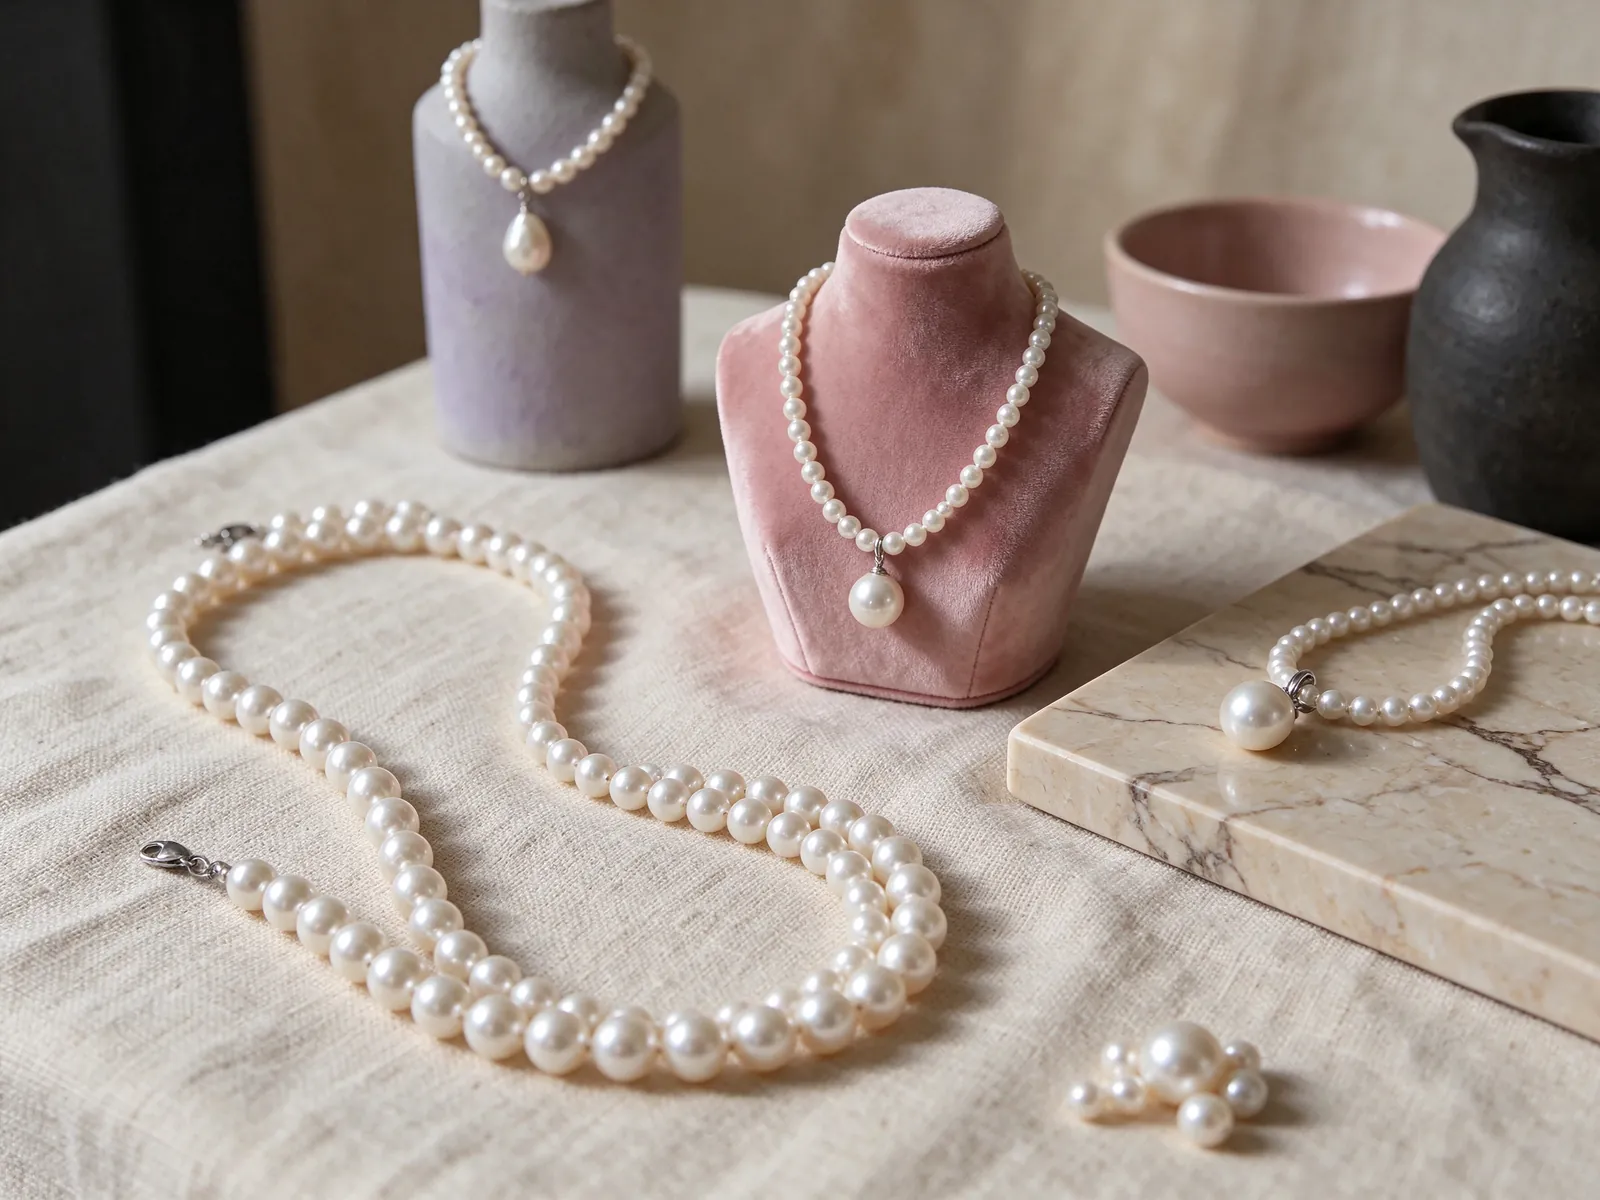
The clasp and side connections deserve their own fit check
Look beyond the front. Where several strands meet a shared clasp, inspect whether they open out in their intended order or press against one another. Check for a sharp bend near a connection and for strands that are trapped behind their neighbours. The clasp's position can affect contact at the back of the neck, something a front photograph cannot reveal. Move your hair aside, inspect from the side and try the necklace with an outer layer.
Ask how the fastening opens and closes, then assess whether you can hold and operate it comfortably once the method is understood. Smaller does not necessarily mean more comfortable, and larger does not necessarily mean easier to handle. Hair and collar thickness also matter. Support the clasp when taking the necklace off rather than pulling on one strand. If the strands have crossed behind your neck, remove the necklace and arrange it on a soft surface before wearing it again.
Notice what changes after sitting and lifting your arms
Sit against a chair back, then gently lift your arms as if arranging your hair. Notice whether the clasp presses in one place or the outer strand is lifted by clothing. If one strand feels taut while the others remain loose, tightening the whole necklace is not a useful substitute for understanding that difference. Record which strand, movement and garment caused the sensation so that length and connection placement can be compared more precisely.
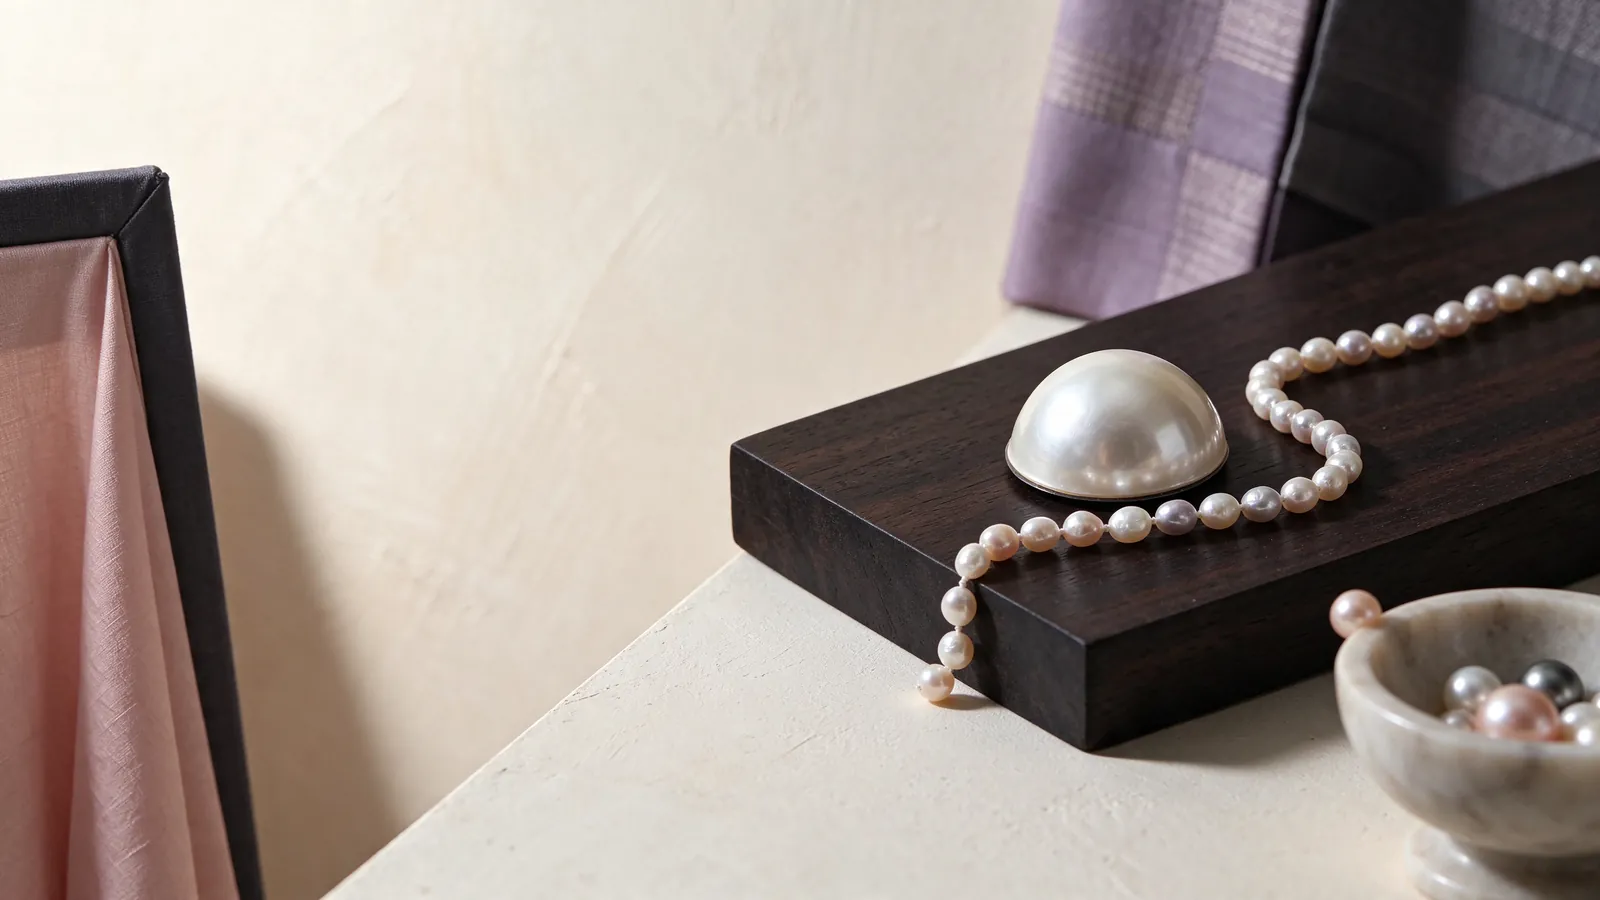
Give the necklace and the outfit different roles
For everyday dressing, try making the necklace the main detail around the neckline. An open shirt requires a check for strands caught between a button and the collar; a plain round-neck top offers a choice between jewellery on fabric and jewellery above it. If the garment already has ruffles, a strong weave or a dense pattern, simplify nearby details before increasing the strand count. This may make the existing curves easier to read without changing the necklace.
For an evening outfit or wedding attire, identify whether you want attention on the face, shoulder line or chest. Reflective fabric can interact strongly with pearl lustre, so inspect the pairing in soft light and stronger lighting rather than relying entirely on the fitting room. Earrings need not grow in size with the number of strands. A more restrained ear silhouette can leave space around the face when the necklace already creates a broad frame.
Prepare for photographs without tightening the fit
Before a photograph, relax your shoulders and check that no strand has crossed over another or been lifted by the neckline. Include enough of the upper body to judge the relationship with the garment, rather than photographing only a short section of pearls. Do not tighten the necklace to force every curve into a particular pose. The most useful picture shows an arrangement that also feels natural when you move and sit.
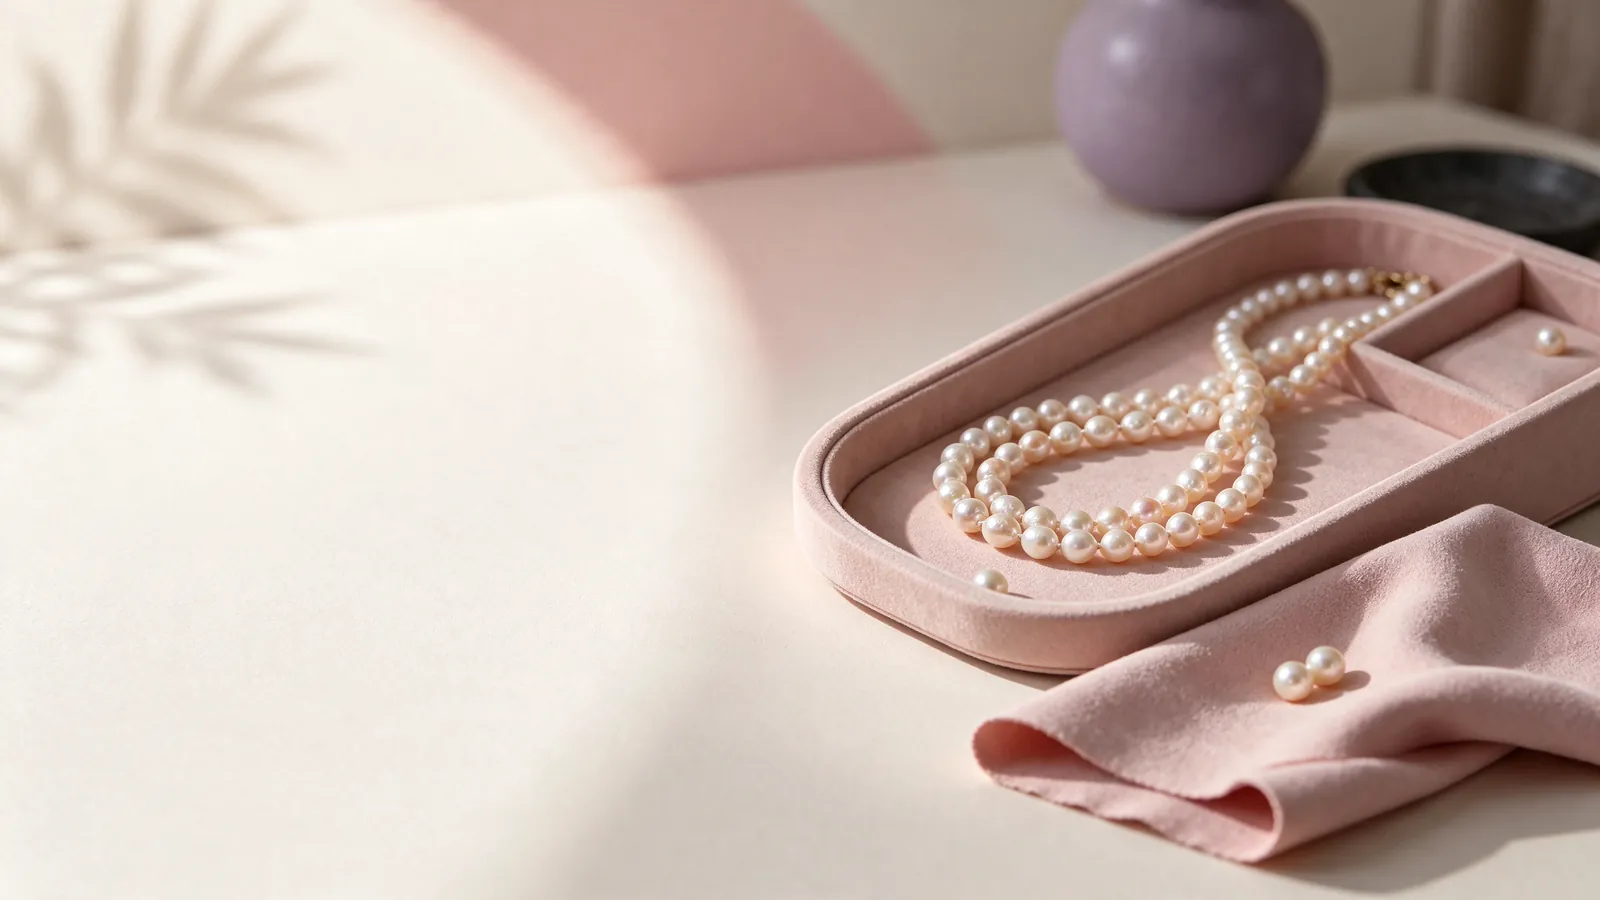
Store the strands in order and make the next fitting easier
After removal, place the necklace on a clean, soft surface and open the strands out in their original order. Gently wipe after wearing with a very soft, clean cloth. Avoid gathering everything into a tight bundle or pulling the outer strand to free the inner ones. Separate the necklace from jewellery that could rub against it, and keep the clasp from pressing on pearls. A quick check before wearing helps identify crossing caused by storage.
GIA advises avoiding perfume, hair spray, acids and excessive heat, and says pearls should never be cleaned with ultrasonic or steam cleaners. If a strung necklace is cleaned with water, the string must be completely dry before wearing. With several strands, checking only the outer row is insufficient; consider the string near the clasp and where strands lie together. Frayed string, unusual gaps or a fastening that behaves differently deserve inspection rather than pulling or cutting to adjust the spacing.
Bring neckline preferences to a styling conversation
When discussing styling with Flint Jewellery, bring a photograph of a frequently worn neckline and describe the outline you prefer. Explain whether you want two distinct curves or three descending levels, and whether wearing necklaces separately matters to you. Add any movement that felt restrictive during a fitting. These details keep the conversation focused on construction, clothing proportions and comfort rather than choosing a strand count before you know how it will work.
Start the conversation with Flint Jewellery on WhatsApp at https://wa.me/85260106207. Share a photograph of your usual neckline and say whether you prefer two clearly separated curves or three descending levels. If you already wear several strands, describe where they overlap or feel restrictive. Those observations help make a styling discussion relevant to your clothing and everyday movements.
| Focus | Two strands | Three strands | Fitting action |
|---|---|---|---|
| Front outline | Check for two readable curves or an intentional band | Check that the middle curve remains visible | Relax shoulders; compare front and side views |
| Neckline | See whether the collar lifts both strands | See whether different strands meet different fabric edges | Turn your head in a frequently worn top |
| Spacing | Look for easy separation without repeated pulling | Look for the intended descending sequence | Raise arms, sit, then stand again |
| Matching | Compare colour, lustre and shape rhythm across both | Compare neighbouring strands and the whole arrangement | Inspect in even light, then step back |
| Clasp contact | Check that side connections open out freely | Look for crowding or sharp bends at connections | Move hair aside and try an outer layer |
Pearl knowledge and authoritative references
GIA identifies 7 pearl value factors: size, shape, colour, lustre, surface quality, nacre quality and matching. Matching is particularly relevant when observing relationships between several strands; the number of strands does not itself establish pearl quality.
Read the reference for this factFrequently asked questions
Is a double strand pearl necklace always lighter than a triple strand pearl necklace?
No. Pearls, strand lengths and the clasp all contribute to the complete weight. Contact at the neck and the way the strands fall also affect comfort. Ask for the actual weight of the piece you are considering and try moving and sitting; fewer strands alone do not establish a lighter feel.
Is every multi-strand look made by wrapping one long necklace?
No. Strands sharing a clasp, independent necklaces worn together and a long strand worn in loops have different constructions. Understand the fastening and string arrangement first. Do not assume a fixed multi-strand necklace separates into individual pieces or that any long strand is intended for looping.
What if the middle strand repeatedly disappears behind the outer strand?
Remove the necklace and arrange the strands before trying again with the same top. Check whether the collar lifts the outer strand and whether overlap remains when you sit. Persistent overlap is a reason to compare strand lengths and connection positions, not simply to tighten the whole necklace.
Can I choose a multi-strand gift using only a photograph of the recipient?
A photograph can indicate a preferred silhouette, but it cannot establish neck measurements or comfort in motion. Learn which necklines the recipient wears and whether they prefer a close or descending outline. If possible, allow for a fitting rather than estimating fit from the image.
Can several strands be kept in the same jewellery box as other necklaces?
Use a soft separation so the pieces do not rub or tangle directly. Lay the strands in order and avoid placing the clasp over pearls. Check their arrangement before fastening, rather than trying to pull crossed strands apart while they are on your neck.
Updated: