
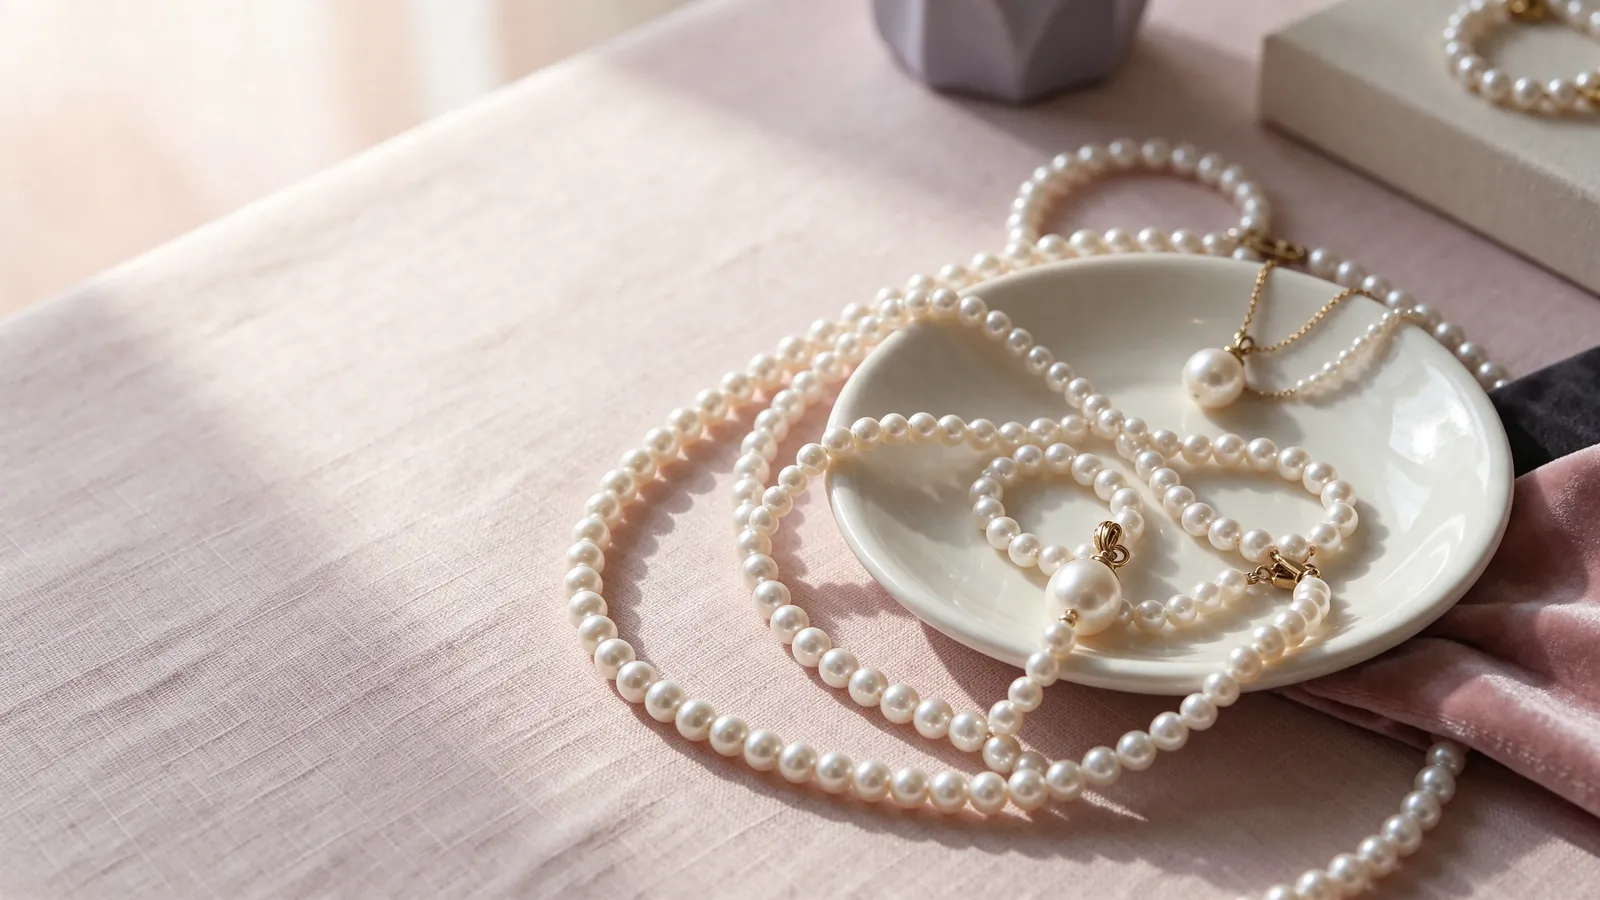
How can a multi strand pearl necklace frame your neckline, whether you choose a double strand pearl necklace or a triple strand pearl necklace? | Flint Jewelry
Choose a familiar shirt or dress for your first comparison. With a crew neck, check whether the strands sit entirely above the opening or rest clearly on the fabric. A row balanced on the collar edge can be pushed upward as you move. With a V-neck, look at how the curved rows relate to the pointed opening. Leaving some visible skin or fabric between the two outlines can make both easier to appreciate than forcing them to trace each other.
For a wide boat neck or bare-shoulder silhouette, consider the horizontal spread before deciding on more rows. A double strand pearl necklace may show two separate arcs or read as a compact band. A triple strand pearl necklace creates another level across the chest, but that level needs space to be seen. A pearl choker necklace is a useful comparison if you are deciding between a frame close to the neck and one that extends downward.
What should you check about drape and movement in a multi strand pearl necklace, including a double strand pearl necklace or a triple strand pearl necklace? | Flint Jewelry
Stand with relaxed shoulders and find the lowest point of each row. Check the side view, too, for strands sitting on top of one another. Turn your head slowly, lift your arms, and sit down. Notice whether the inner row presses against your neck, the outer row catches on the garment, or the clasp shifts sideways. Stand again and let everything settle. Fit is more convincing when the rows return naturally than when they require constant adjustment.
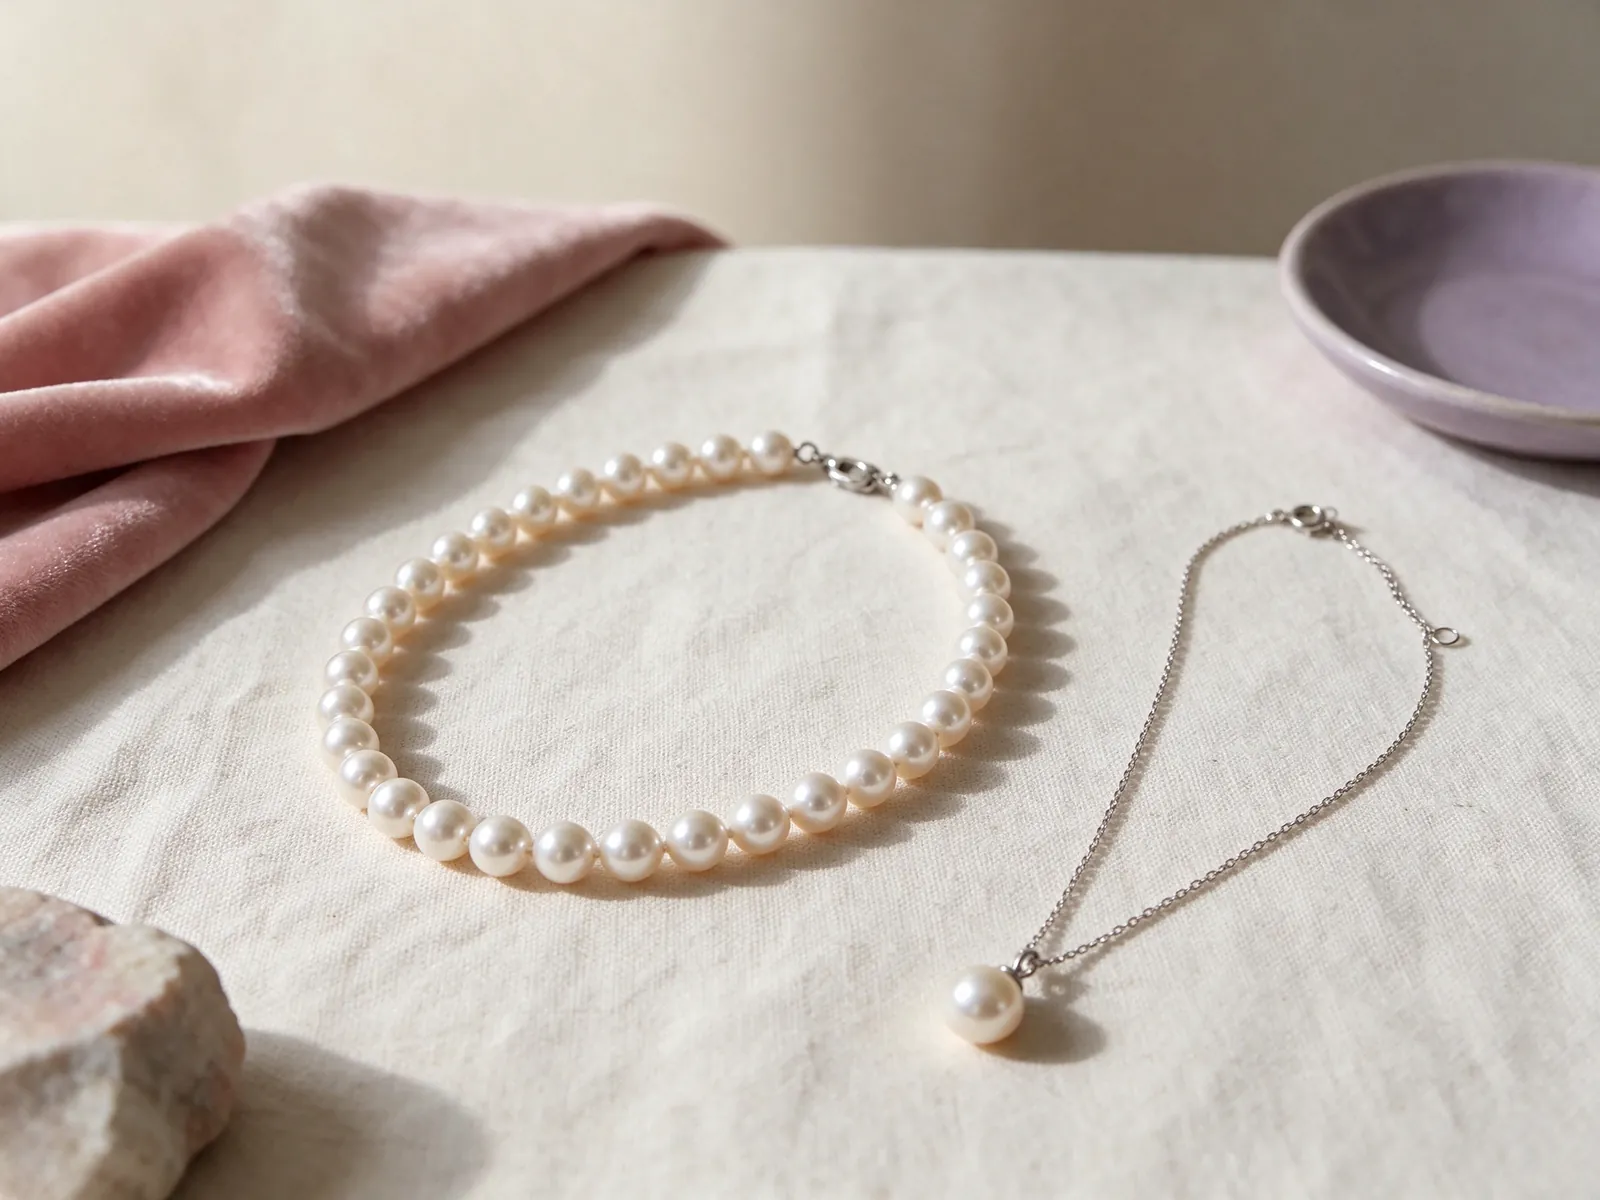
Choose the kind of outline before choosing the number of rows
Ask what you want the added strand to do. Closely arranged rows can create width, while separated rows lead the eye through several curves. In a three-strand arrangement, the middle row must have a place that is not obscured by the outer one. Compare the front and both sides rather than counting visible pearls in a close-up. A single strand pearl necklace offers a starting point for deciding whether you want more area covered or simply a different line.
Construction also changes your options. Several rows connected to a shared clasp are organized as one piece; separate necklaces have individual fastenings and can be removed independently. Their front views may look similar, but the clasp positions and adjustments behind the neck differ. Explore pearl necklace layering if wearing each necklace on its own is important to you. That preference is worth identifying before settling on a fixed multi-strand outline.
Recognize intentional asymmetry rather than accidental crossing
A balanced design does not have to be perfectly symmetrical, but the variation should make sense when the strands hang freely. Remove any crossing caused by handling before evaluating an uneven outline. For parallel rows, look for a clear descending order; for a more varied arrangement, look for a rhythm you genuinely enjoy. Do not twist fixed strands together to create another style, because the original connections may not be intended for that use.
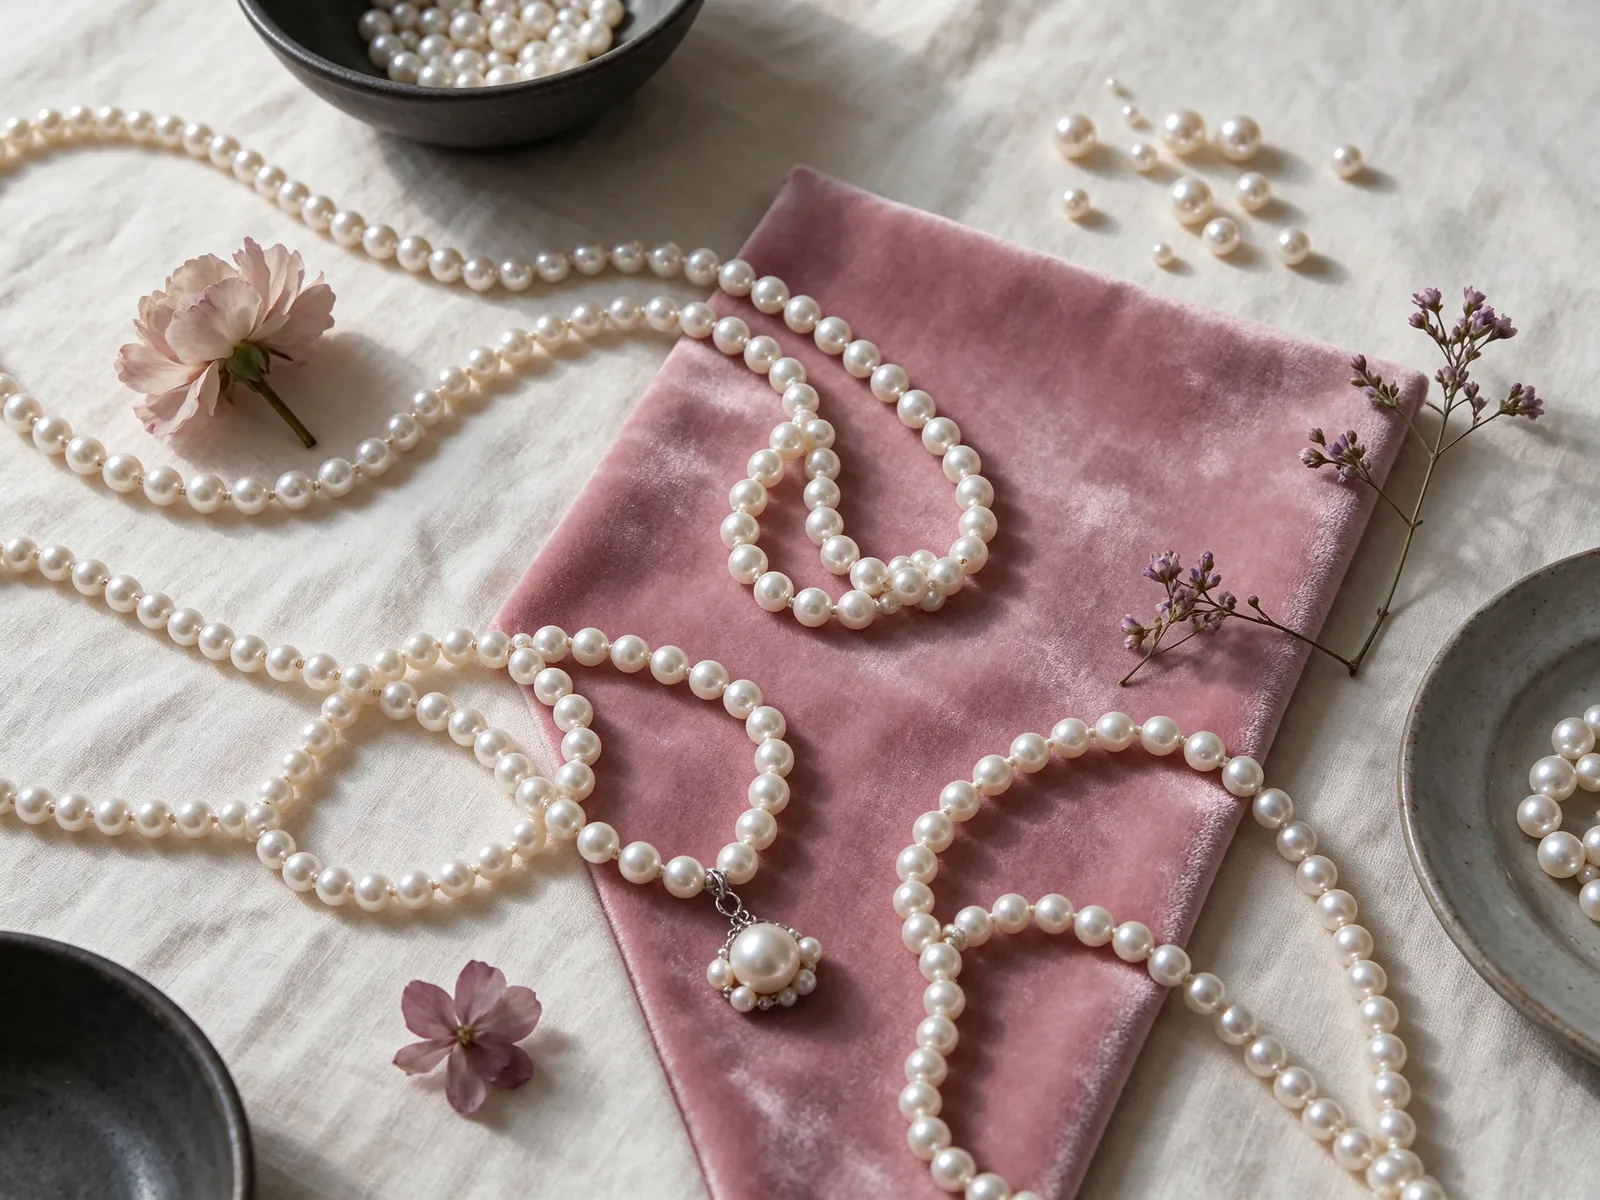
Evaluate pearl scale and matching across the entire necklace
The visible scale of the pearls changes how much space a multi-strand necklace appears to fill. Fine-looking rows may preserve clear gaps; more prominent pearls can make those gaps feel smaller and the overall frame broader. View the piece on the upper body as well as close up. If your goal is a noticeable focal point, a large pearl necklace may offer that with one strand, so extra rows are not the only route to a stronger outline.
GIA describes seven pearl value factors: size, shape, color, luster, surface quality, nacre quality, and matching. For multiple rows, matching invites you to compare neighboring strands as well as pearls within a strand. Look at the consistency or deliberate progression of color, reflection, and shape. A design may use contrast rather than uniformity, so consider the intended whole. Shape and color by themselves do not establish origin or distinguish natural from cultured pearls.
Use even light for detail and a mirror for proportions
Follow each row closely to observe the surface and the pattern of shapes, then step back to judge how the color relationship works with the outfit. A mirror helps you assess the necklace's width against the shoulders and fabric details; it is not a way to identify pearl origin. If one row seems unusually bright, compare it again away from a concentrated light. Avoid letting a single reflection determine your view of the entire arrangement.
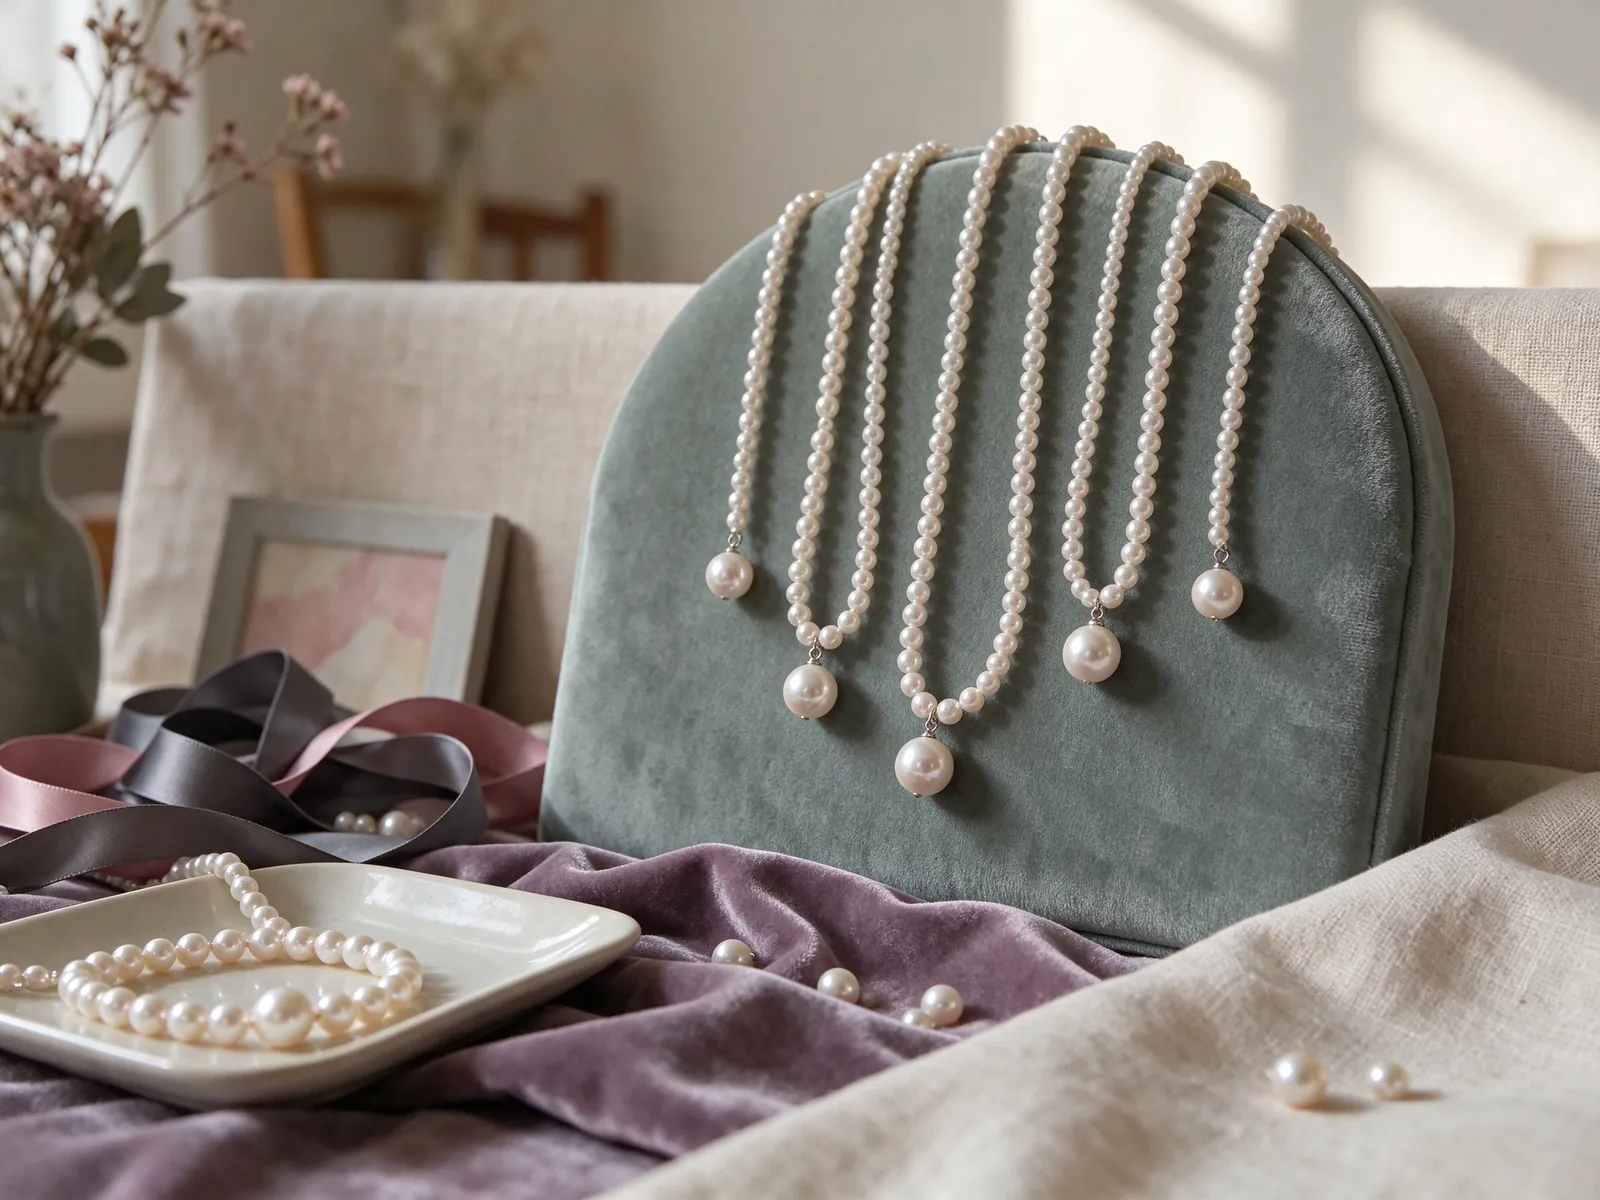
Describe the inner, middle, and outer positions separately
A total length does not explain where every row will sit. The inner strand controls the space near the neck, while the outer strand establishes the lowest arc. Any rows between them need enough room to connect that outline clearly. Clothing changes the result: a substantial knit can support the strands differently from a thin dress fabric. A matinee pearl necklace gives another chest-level silhouette to compare when deciding how far the outer row should reach.
If you want a mainly vertical line, consider a long pearl necklace alongside shorter multi-row arrangements. These silhouettes guide the eye differently, even before you compare their measurements. For a fitting conversation, describe whether the inner strand feels too close, the outer one meets a decorative seam, or the rows gather when seated. Clarify whether any stated length includes the clasp. Specific observations are more useful than a general request to make everything longer.
Change one fitting variable at a time
Keep your shirt, posture, and viewing distance the same when comparing two arrangements. The gaps need not look identical along every curve; focus on whether you can still read each row and whether movement causes lasting overlap. Check the collar for lifting or trapping a strand. After that first comparison, switch to another frequently worn neckline. This helps reveal whether the issue belongs to the arrangement or to one particular garment.
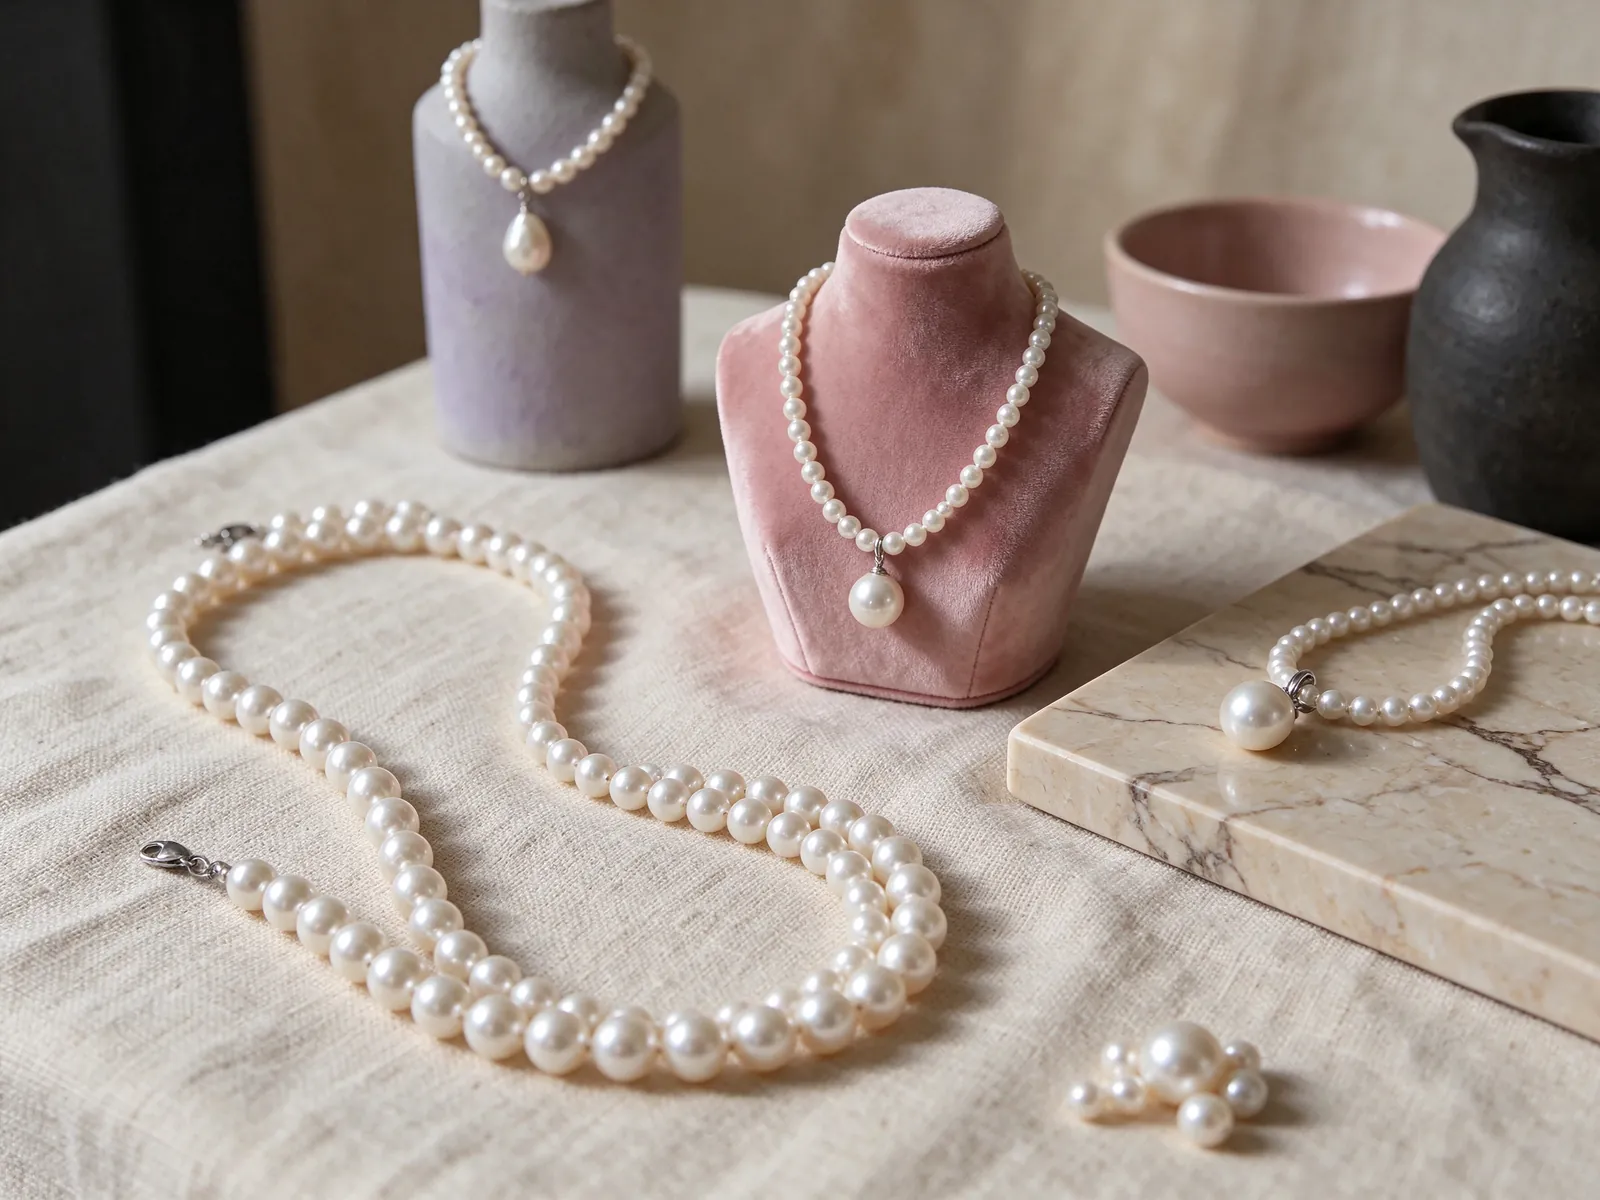
Inspect the back and sides, not only the front-facing pearls
Where several strands join a clasp, look at how they open out on both sides. A row pressed behind another or sharply bent near the connection can change the way the front hangs. Move your hair away and inspect from the side and back. Then put on a jacket or other outer layer to see whether its collar contacts the fastening. The contact at the back of the neck is part of the fit, even when it is absent from photographs.
Understand the fastening before evaluating how easy it is to use. Try holding and operating it without pulling a strand, and consider how your hairstyle and clothing affect access. A smaller clasp is not automatically more comfortable, just as a larger one is not automatically simpler to handle. When removing the necklace, support the clasp. If rows have crossed behind your neck, take the piece off and separate them on a soft surface instead of tugging while wearing it.
Identify the movement that changes the fit
Sit in a chair, lean back gently, and lift your arms as you might when adjusting your hair. Watch for a clasp that presses in one spot or a strand that is pushed up by fabric. If one row feels tight while the others hang loosely, note that difference rather than shortening the whole piece. Record the row, garment, and movement involved. This gives a clearer basis for comparing lengths and connection placement.
Balance multiple rows with the rest of your outfit
For daily wear, let the necklace be the main detail near the neckline during your first outfit test. With an open button-down, check for rows caught between the collar and buttons. With a plain crew-neck shirt, compare the effect of pearls above the fabric with pearls resting on it. If ruffles, a coarse weave, or a busy print already occupy that area, reduce competing details before adding more strands. The existing arrangement may become clearer without any change to the necklace.
For an evening event or wedding outfit, decide whether you want the frame to emphasize your face, shoulders, or chest. Shiny fabric and pearl luster can create a different relationship under stronger lighting, so inspect more than the fitting-room view. Earrings do not have to increase in size to match the number of rows. A narrower ear silhouette can leave breathing room around the face when the necklace already creates a broad statement.
Check the seated outfit before judging the photograph
A necklace that looks orderly while standing may rest differently at a table. Sit down before making the final outfit comparison and check whether fabric supports the lower rows. For photographs, relax your shoulders and gently verify that the strands are in order. Include enough of the upper body to see their relationship with the garment. Do not tighten the fit merely to hold the curves in one camera-ready position.
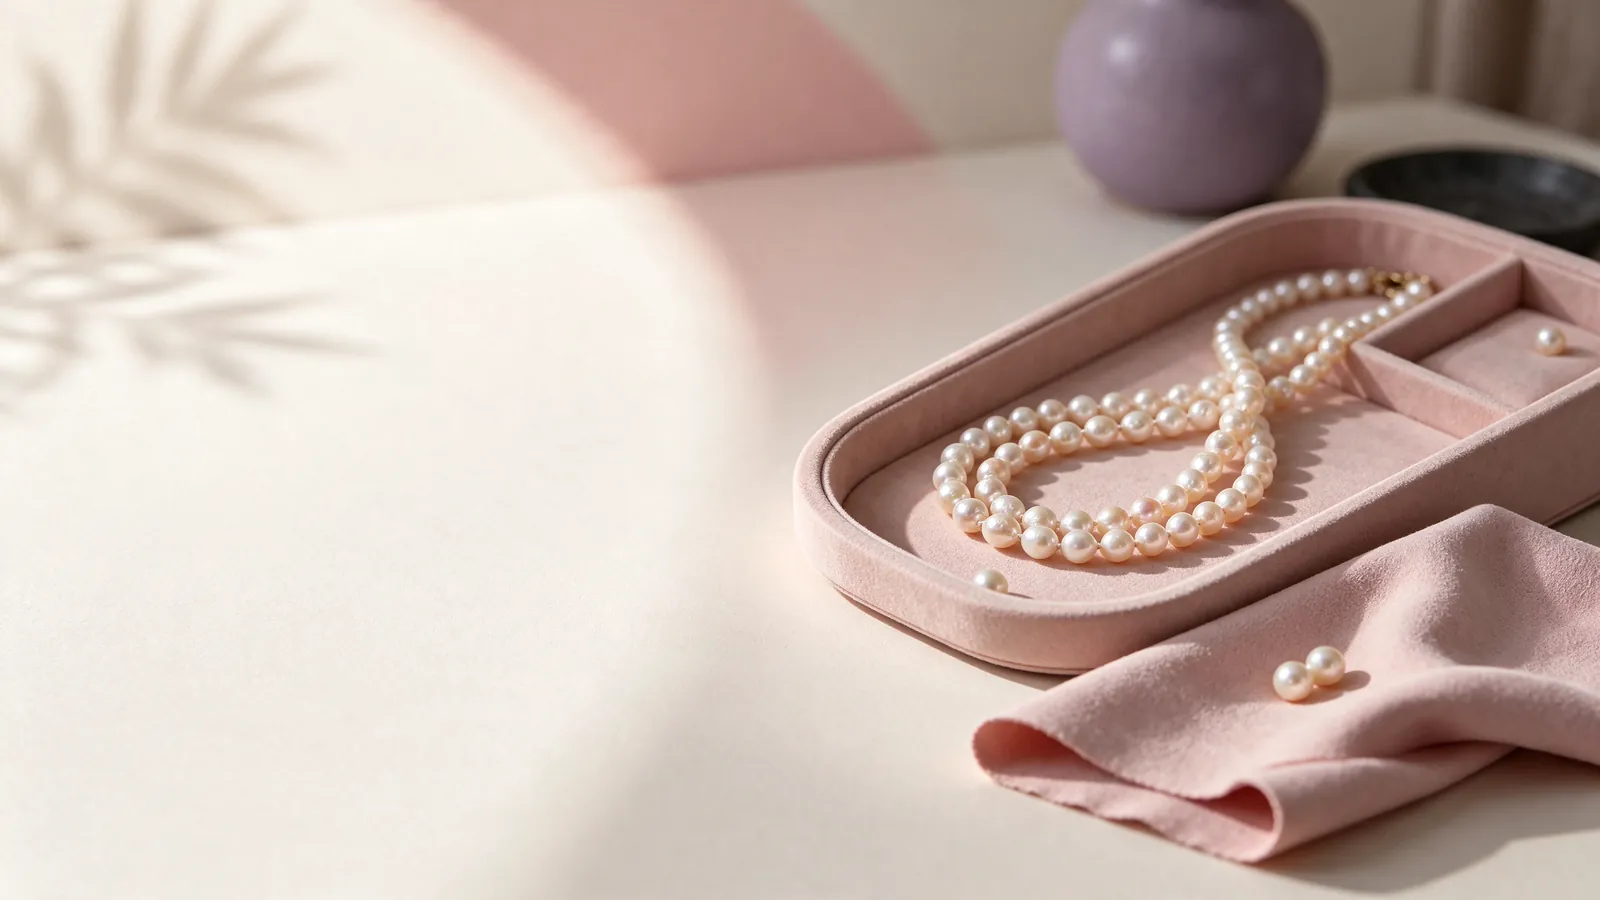
Keep the rows organized between wears
Set the removed necklace on a clean, soft surface and lay out the rows in their original order. Wipe gently after wearing with a very soft, clean cloth. Avoid compressing all the strands into a bundle or pulling one row to release the others. Store it separately from jewelry that could rub against the pearls, with the clasp clear of the strands. Check the side arrangement before fastening so you can address storage-related crossing before it reaches your neck.
GIA recommends avoiding acids, perfume, hair spray, and excessive heat, and states that pearls should never be cleaned in ultrasonic or steam cleaners. When a strung necklace has been cleaned with water, its string must be completely dry before wearing. With several rows, do not check only the outermost one; consider the string near the fastening and between adjacent rows. Fraying, unusual gaps, or a change in clasp operation call for inspection, not cutting or pulling to revise the spacing.
Make a styling discussion about how you will wear the piece
For a conversation with Flint Jewelry, bring the neckline you wear most often, either as an outfit or a photograph. Describe the shape you prefer and whether separate wear matters: two clear arcs, three descending levels, or independent necklaces offer different possibilities. Mention any pressure or shifting you noticed during a fitting. These details focus the discussion on construction, outfit proportions, and movement rather than committing to a strand count before understanding the fit.
Discuss your preferred outline with Flint Jewelry on WhatsApp at https://wa.me/85260106207. Send a photograph of a neckline you wear often and explain whether you want two distinct arcs or three descending levels. If an existing necklace shifts or feels close at one row, describe that movement as well. A conversation grounded in your outfit and comfort can help you compare styling directions without deciding by strand count alone.
| What to compare | Two strands | Three strands | How to test |
|---|---|---|---|
| Visible outline | Two distinct arcs or a deliberate compact band | A middle arc that remains readable | Look from the front and side with relaxed shoulders |
| Collar interaction | Whether both rows are pushed up together | Whether rows meet different fabric edges | Turn your head while wearing a familiar neckline |
| Spacing in motion | Separation without repeated adjustment | A clear descending order without lasting overlap | Lift arms, sit down, and stand again |
| Pearl relationships | Color, luster, and shape rhythm across the pair | Adjacent-row relationships and the whole composition | Compare in even light and then from farther away |
| Back and side contact | Connections opening freely beside the clasp | No unwanted crowding where several rows meet | Move hair aside and add a jacket |
Pearl knowledge and authoritative references
GIA lists 7 pearl value factors: size, shape, color, luster, surface quality, nacre quality, and matching. Matching provides a useful way to observe coordination across multiple rows; strand count alone is not a pearl quality measure.
Read the reference for this factFrequently asked questions
Does choosing two strands guarantee a lighter necklace?
No. The pearls, the length of each strand, and the clasp all contribute to the complete piece. Where that weight rests also changes how it feels. Ask about the actual weight and try sitting and turning rather than assuming fewer rows will always be lighter or more comfortable.
Can a fixed multi-strand necklace always be worn as separate necklaces?
Not necessarily. Rows sharing a clasp are different from independent necklaces worn together. Ask how the arrangement is connected and whether it is designed to separate. Do not open connections or assume that the appearance of several rows means each is an individual necklace.
Why does the middle row look visible standing up but disappear when I sit?
Sitting can change how clothing supports the lower rows. First remove any crossing and try again in the same outfit. Watch the collar and the outer strand as you sit. If overlap continues, compare the row lengths and connection positions rather than tightening the entire necklace.
What should I learn before giving a multi-strand necklace as a gift?
Find out which necklines the recipient wears, whether they prefer jewelry close to the neck or farther down the chest, and whether separate wear matters. A photograph can suggest a preferred look but cannot establish measurements or comfort. A fitting is more informative than guessing proportions from an image.
Should I straighten crossed rows while the necklace is still on?
If gentle settling does not restore the arrangement, remove the necklace and lay it on a soft surface. Work with the rows in their original order rather than pulling one against another around your neck. Before wearing it again, check both sides near the clasp for remaining crossing.
Updated: